Nicola started sending out her newsletter Kitchen Projects back in December 2020. Since then, she’s been sharing creative, seasonal recipes, both savoury and sweet, every week to her growing list of subscribers. For each recipe, she delves into the science, techniques and processes — it’s exactly the kind of reading you need when you’re looking to level up your understanding of the kitchen and what you’re cooking. Here, she shares the know-how behind her 3pm chocolate oat biscuits — read ahead, before you go and bake the recipe here.
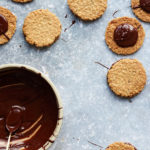
A few months ago I was at my friend Alice’s house. She asked me if I’d ever tried the oaty biscuits from IKEA. I hadn’t. I had a feeling that my life was about to change in some way. She kindly popped into her kitchen and came back with a hall-of-fame-worthy biscuit. If you haven’t tried them, these ‘KAFFEREP’ fellas are a good time: two crispy crunchy oat biscuits sandwiched with dark chocolate. A bit like a double backwards hobnob – totally magic.
“If you haven’t tried them, these ‘KAFFEREP’ fellas are a good time: two crispy crunchy oat biscuits sandwiched with dark chocolate. A bit like a double backwards hobnob – totally magic.”
After posting a picture of this very special biscuit on Instagram, I got a bit more intel from you all. It turns out they are a take on a Swedish classic known as ‘havreflarn’. And, judging by the enthusiastic DM responses, these little oat biscuits have got a LOT of fans. Or should I call you ‘flarns’? (sorry).
I threw a recipe together and fell in love with the ultra crispy results. I really think these are the perfect 3pm tea/coffee companion mood boosters.
To all the oat biscuits I’ve loved before
To get started with this recipe, I thought back to the great oat biscuits I’ve made and enjoyed over the years (beyond hobnobs, ofc):
My first great oat cookie experience was the oat cookie crust of the ‘Milk Bar’ (formerly ‘crack’) pie. You can get this recipe in the iconic Milk bar cookbook – you start by making a super gooey melted butter oat biscuit dough which you then bake, blitz and then bake again with more butter. Dream.
Another unforgettable was at Little Bread Pedlar, Nicola (who now makes beautiful pottery) – the co-founder and the OG croissant impressario – made the most incredible cheesecake base with big chunky old fashioned oats. You know the love is real when a kitchen makes something painstakingly, only for it to be blitzed up hours later.
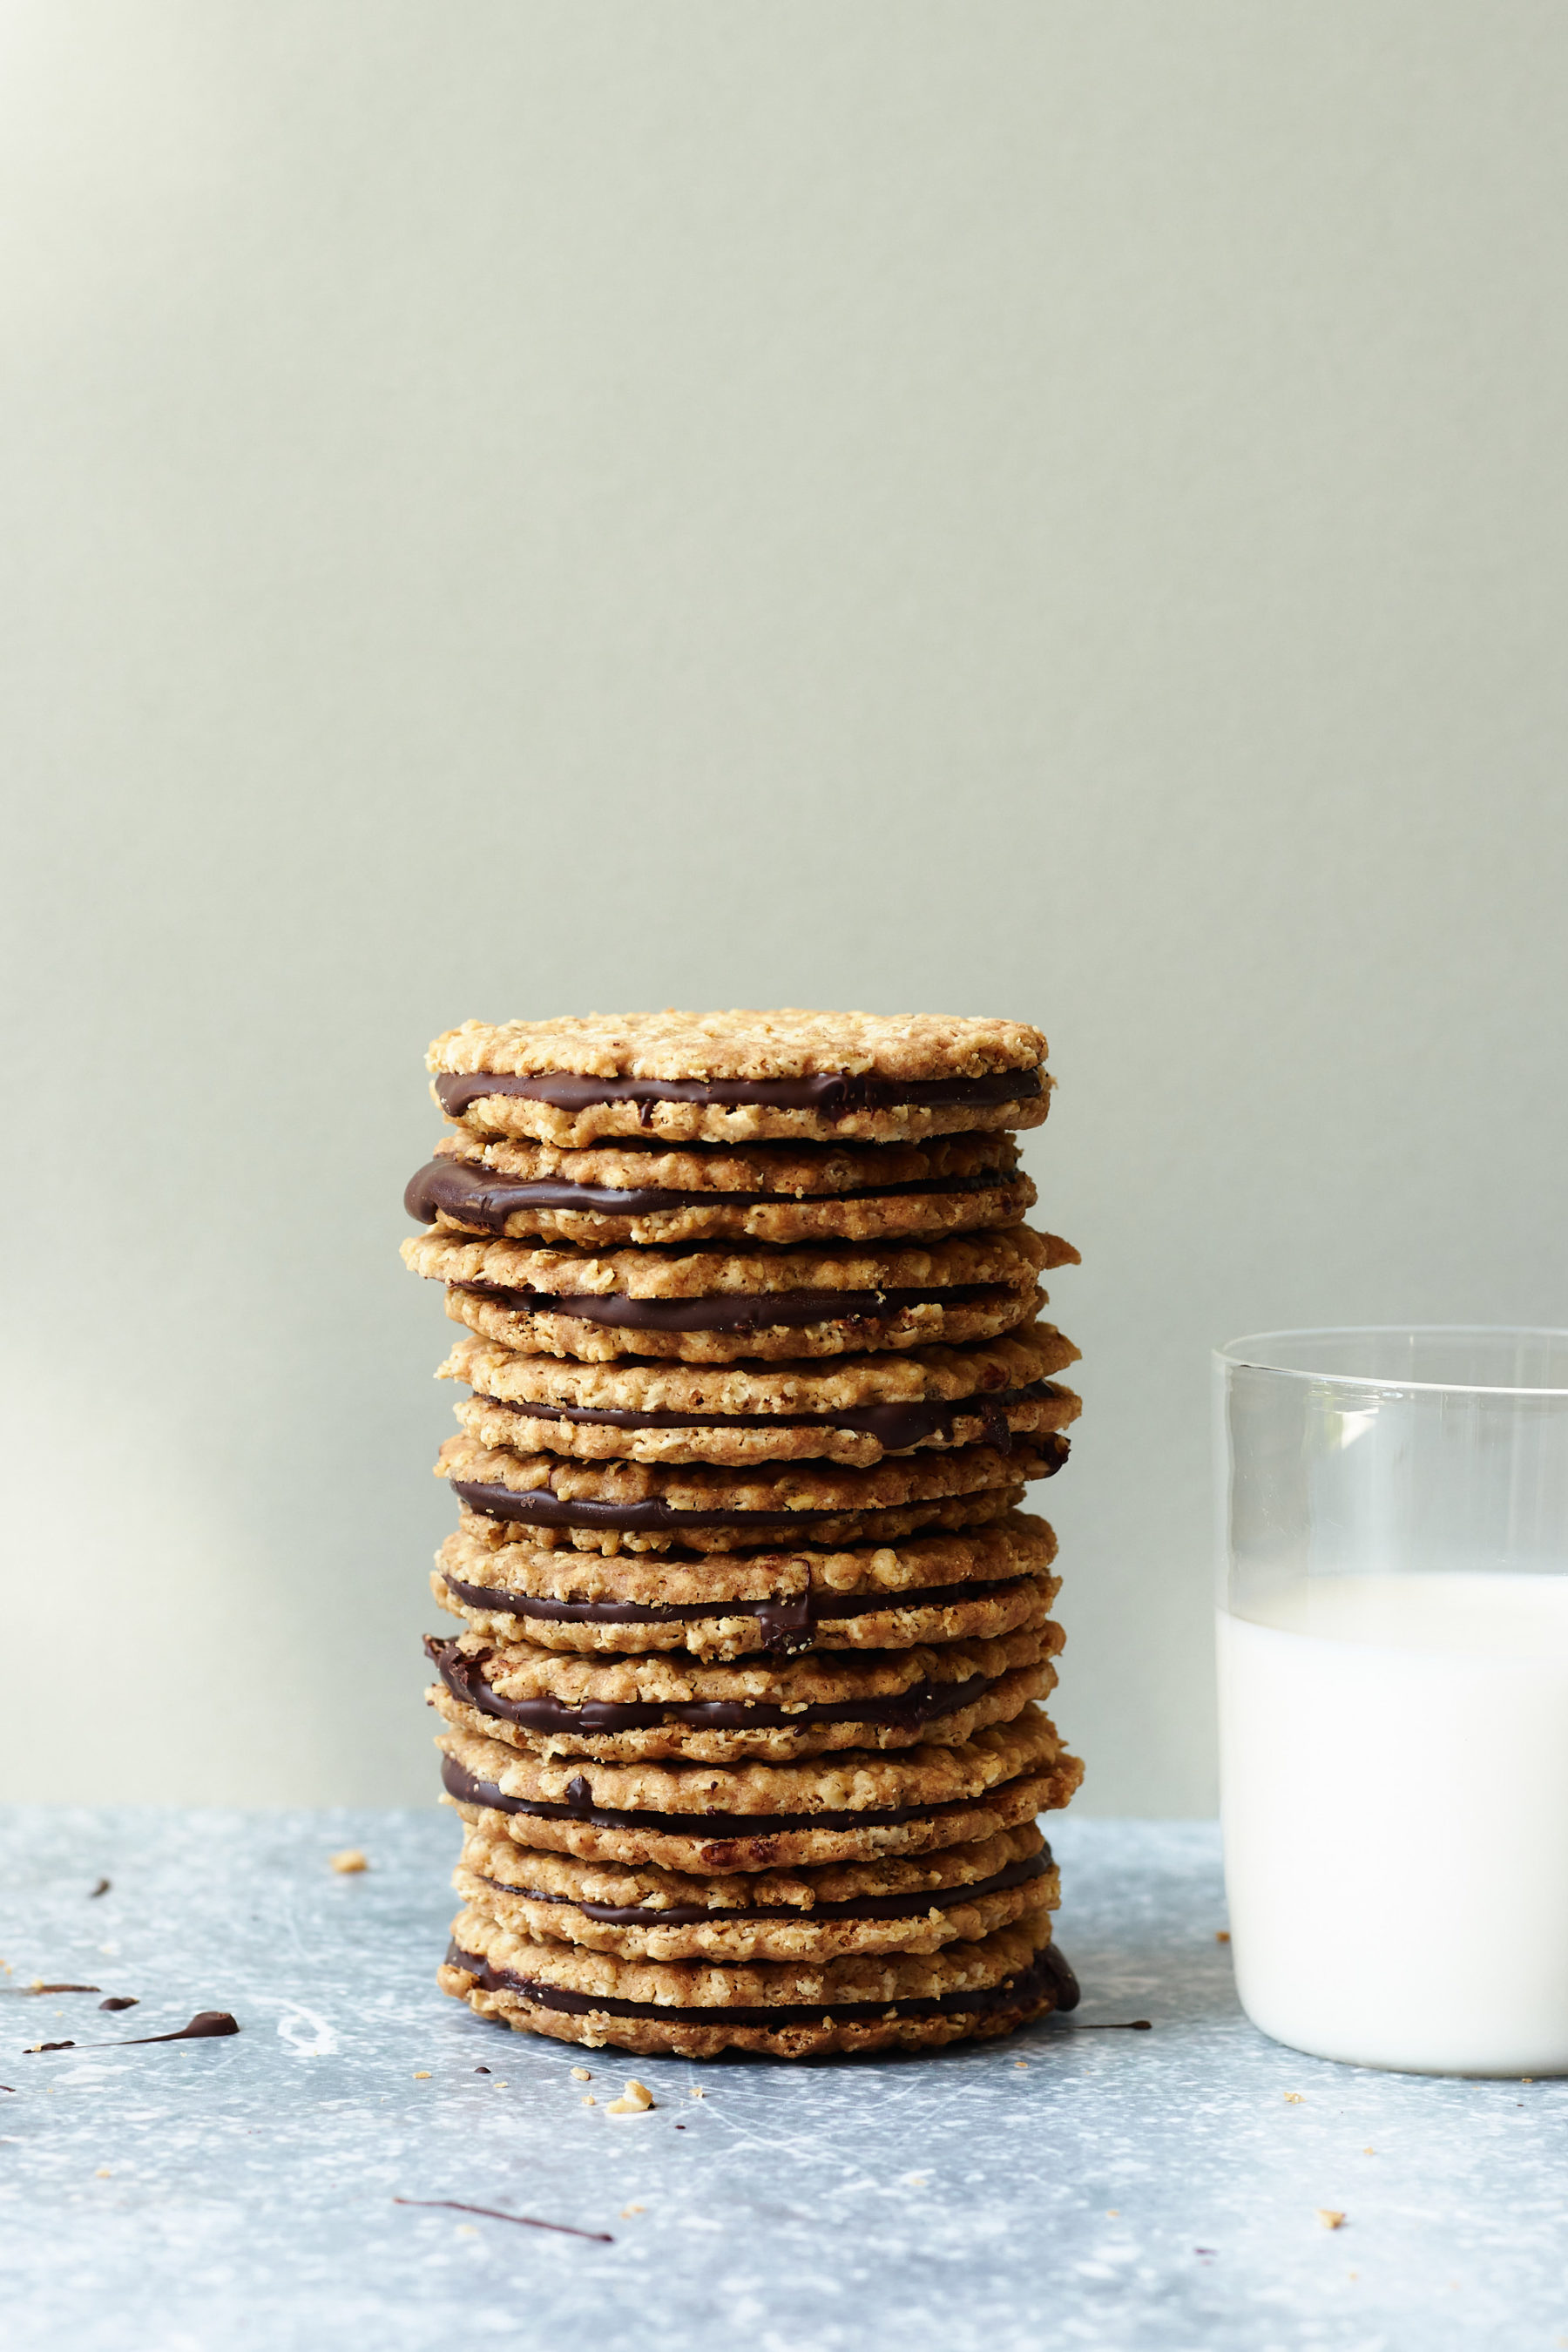
Taking inspiration from these and applying some good old food theory, I’ve created a recipe that I’m so excited to share with you. Made correctly, these biscuits will fall apart in your mouth. They are ridiculously short and crumbly – and a genuine joy to eat.
Let’s get on with it, shall we?
Raising agent
For the most part, I associate raising agents with fluffy sponge cakes and towering scones. Raising agents, however, play a really important role when it comes to cookies and biscuits too.
Bicarbonate or soda, or baking soda, is a raising agent that needs an acid to react, whether that’s cocoa powder, coffee or yoghurt. When the alkaline bicarb meets the acid, carbon dioxide (and water) is produced. This creates air pockets throughout the dough which gives your biscuit a light and airy texture.
When you’re using bicarb, it’s worth noting that it will start to react immediately! Which is why in this recipe I’ve created a bit of insurance and bought us a little bit of time by rubbing in the butter.
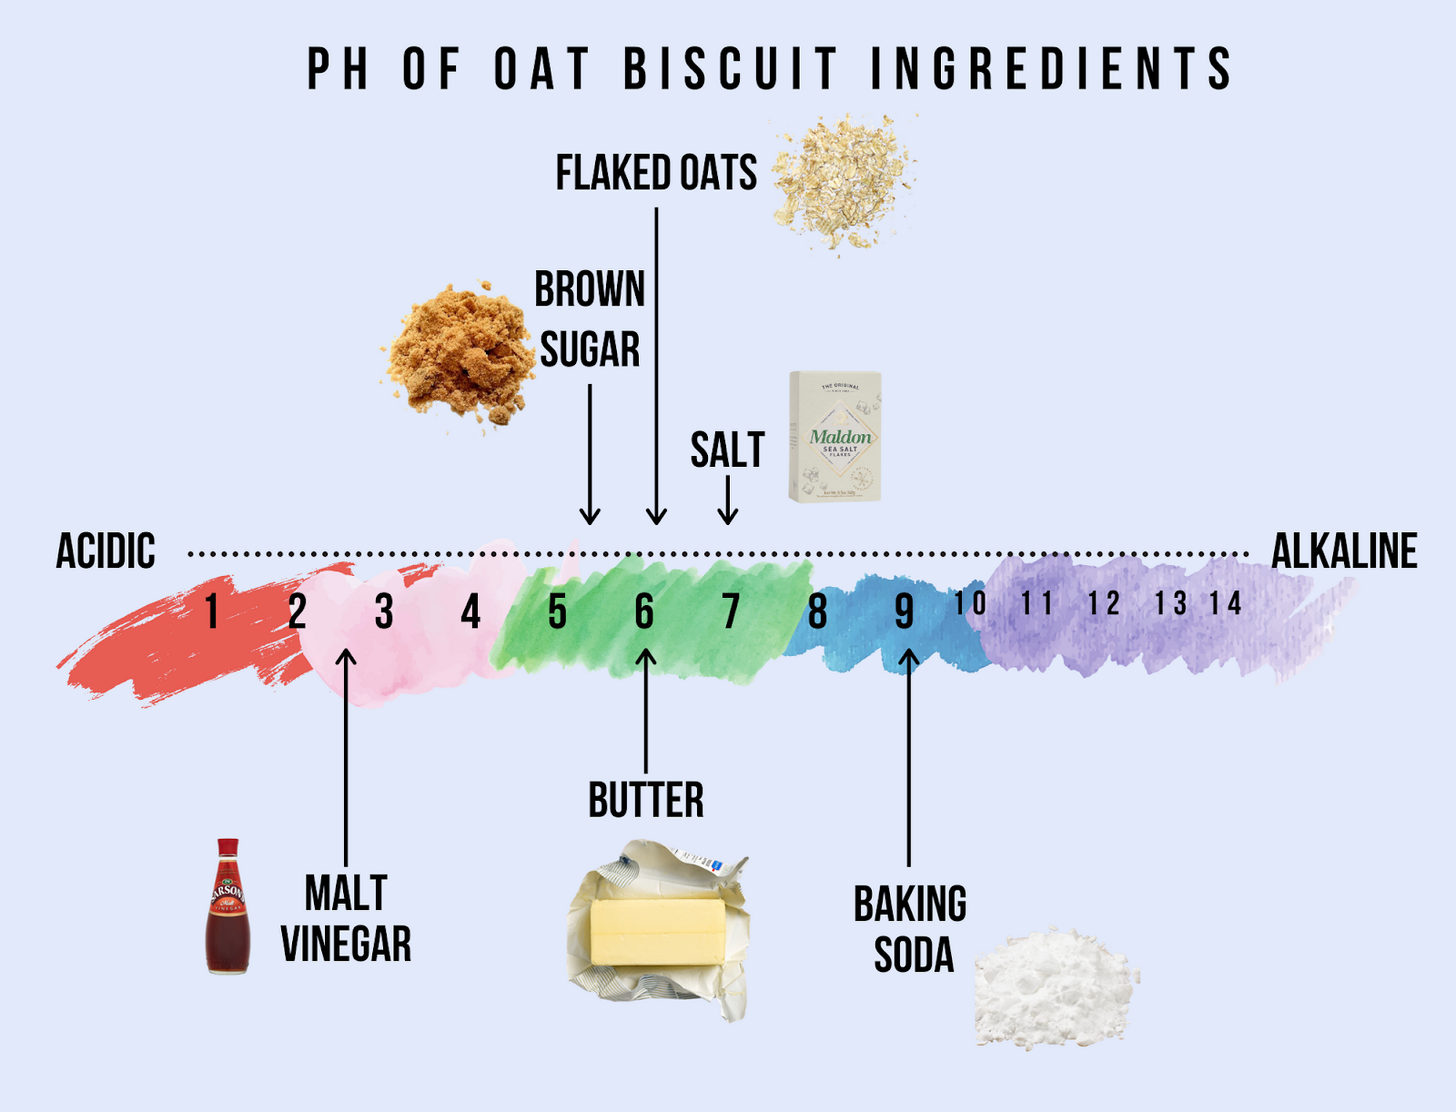
So, what is actually acidic?! Well (albeit weakly), pretty much everything. I’ve put it in a fancy infographic for you here:
Although the malt vinegar might seem like the obvious culprit to react with the baking soda, you can see that – except for the neutral salt – all of the ingredients in the oat biscuit are actually weak acids. The proportion of malt vinegar is actually really small and it’s more there for flavour than for chemical leavening, although it does play its part.
When the biscuit goes into the oven and the butter melts, the baking soda becomes hydrated and can begin to react with all the acids. This is when those magical air pockets are created and when that ultra crisp texture is born.
A side note about cultured butter: it’s become really popular in recent years to use cultured butter for absolutely everything – proceed with caution when you’re using raising agents! It’s just worth remembering that cultured butter has a pH of around 5.5 so it will be enough to tip the scales and be reactive.
The magical malt vinegar
The malt vinegar is something I’ve taken from my time working with Nicola at Little Bread Pedlar. Although I don’t have her original recipe, I’ll never forget the first time I made her cheesecake biscuit and saw malt vinegar on the ingredients list. Definitely a life changing moment.
There’s something about the slightly astringent vinegar flavour that brings the biscuits totally alive. It made her recipe for digestive biscuits taste more like digestive biscuits than actual digestive biscuits. I’m not sure if that makes sense, but ever since I made that fateful cheesecake base crumb I’ve always added a little vinegar to my oat bases.
Gluten and limiting it
The key to a crisp and short biscuit is to limit gluten formation. We need enough gluten that the dough will hold together, but not so much that the biscuit becomes tough or chewy. Made correctly, these biscuits are ridiculously short!
Oats – naturally – are gluten free, so no trouble there. According to this article by the genius Stella Parks, bulky ingredients like oats smuggle air into the mix, too. As we’ve covered before, flour needs water to form gluten. So, when it comes to building a recipe when you want to limit gluten formation you need to figure out where the water is coming from. For this biscuit recipe, the only water is coming from the butter itself. We’ll cover that next.
The joy of butter and how to introduce it
The first time I made these biscuits they were a little bit too buttery: they had a slightly greasy feel when I picked them up. Once they were in your mouth they were comically buttery and short. And though I loved this about them, I decided these biscuits would be better off being a bit more robust. I would definitely need to reduce the overall butter quantity a bit.
But what about the method?
When I’ve made oat biscuits in the past, I’ve always introduced the fat into the dry ingredients by stirring in melted butter. But for my second attempt, I decided to switch this up a bit and rubbed in half the butter in and melted the other half.
When you use 100% melted butter, there is a chance that your mix will be a bit greasy if things aren’t properly mixed. When you think about butter, it’s important to realise it is basically an emulsion – fat suspended in liquid. When you melt butter, that emulsion is broken – it isn’t the most stable thing in the world!
As for the rubbing in technique, this is a classic gluten inhibiting strategy. By rubbing the flour with fat, you’re literally coating it and physically blocking gluten chains from being able to form. The other benefit here is that you’re also coating the bicarb. This means you’re limiting the immediate reaction from the malt vinegar, saving a bit of fizz for later on!
One last thing to note about temperatures – it’s important not to pour the butter on too hot! Otherwise all your hard work rubbing in the first half of butter will be gone.

The oats
This biscuit works best using a flaked oat (sometimes called ‘quick cook’ oats – it’s basically a beaten up oat!). If you only have jumbos, then whizz them in the food processor a couple of times to make them more manageable. If you wanted to keep some chunkier oats in there then be my guest! It might make the dough a little bit harder to work with but nothing you can’t handle.
I started off with a 50/50 ratio of flour to oats but I decided to up it 60/40 in favour of oats. It does make this dough slightly more crumbly and a bit annoying when you are cutting out the shapes, but this dough can be reformed over and over again (as far as I can tell) so nothing gets wasted!
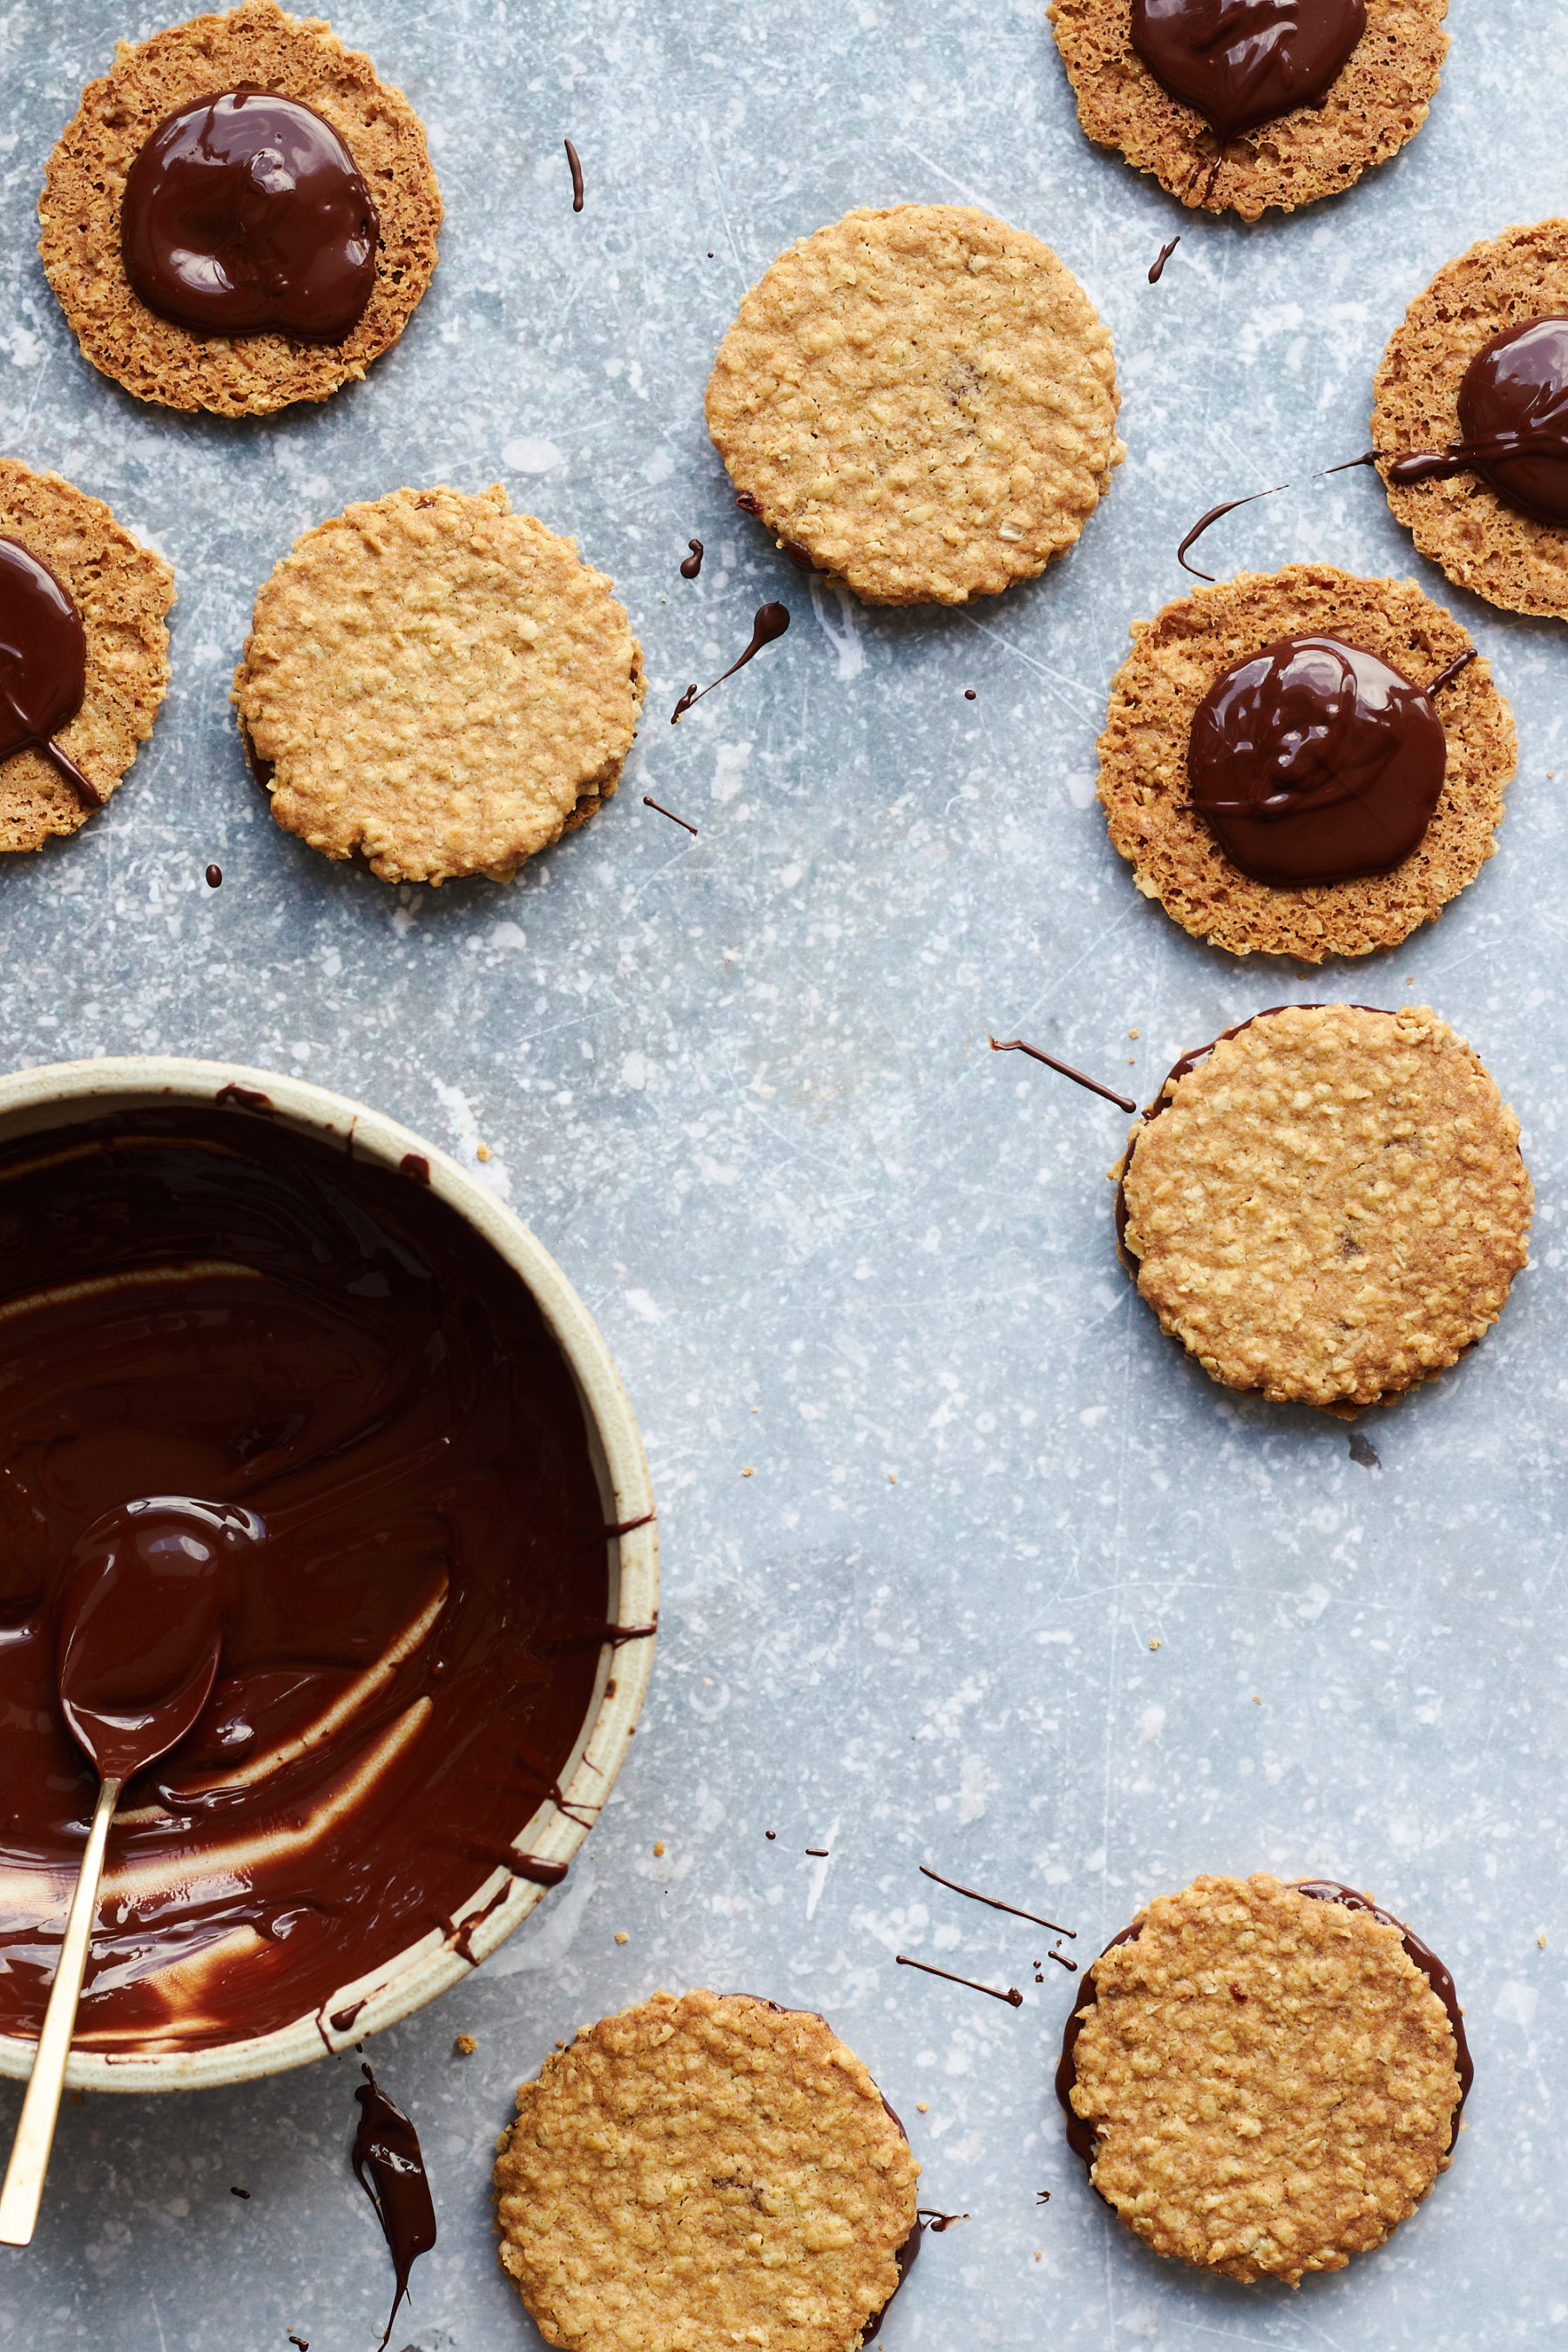
The chocolate
You know I always say use the best chocolate possible. And that is totally true. But sometimes the ‘best chocolate possible’ = the most appropriate chocolate for the job.
For these, I used the waitrose essentials 72% belgian chocolate. And I 10,000% mean this as a compliment – this particular chocolate made these biscuits taste like an authentic supermarket/IKEA treat. What I mean is, this chocolate combined with the super short oat biscuit tastes *kinda* trashy but still sophisticated.
Dough handling
My go-to biscuit handling technique is always to roll out the dough between a couple of sheets of greaseproof paper. I tried the technique of balling the dough and then baking straight after mixing but instead of spreading out attractively it just stayed as a little oaty ball. Quite nice, but not what I was after.
Alright, shall we make them? Click below for the recipe.
Read more: 3pm Chocolate Oat Biscuits Recipe
Now you know the science behind it, try baking Nicola’s 3pm Chocolate Oat Biscuits for yourself. Click through for the step by step recipe.
— about the author